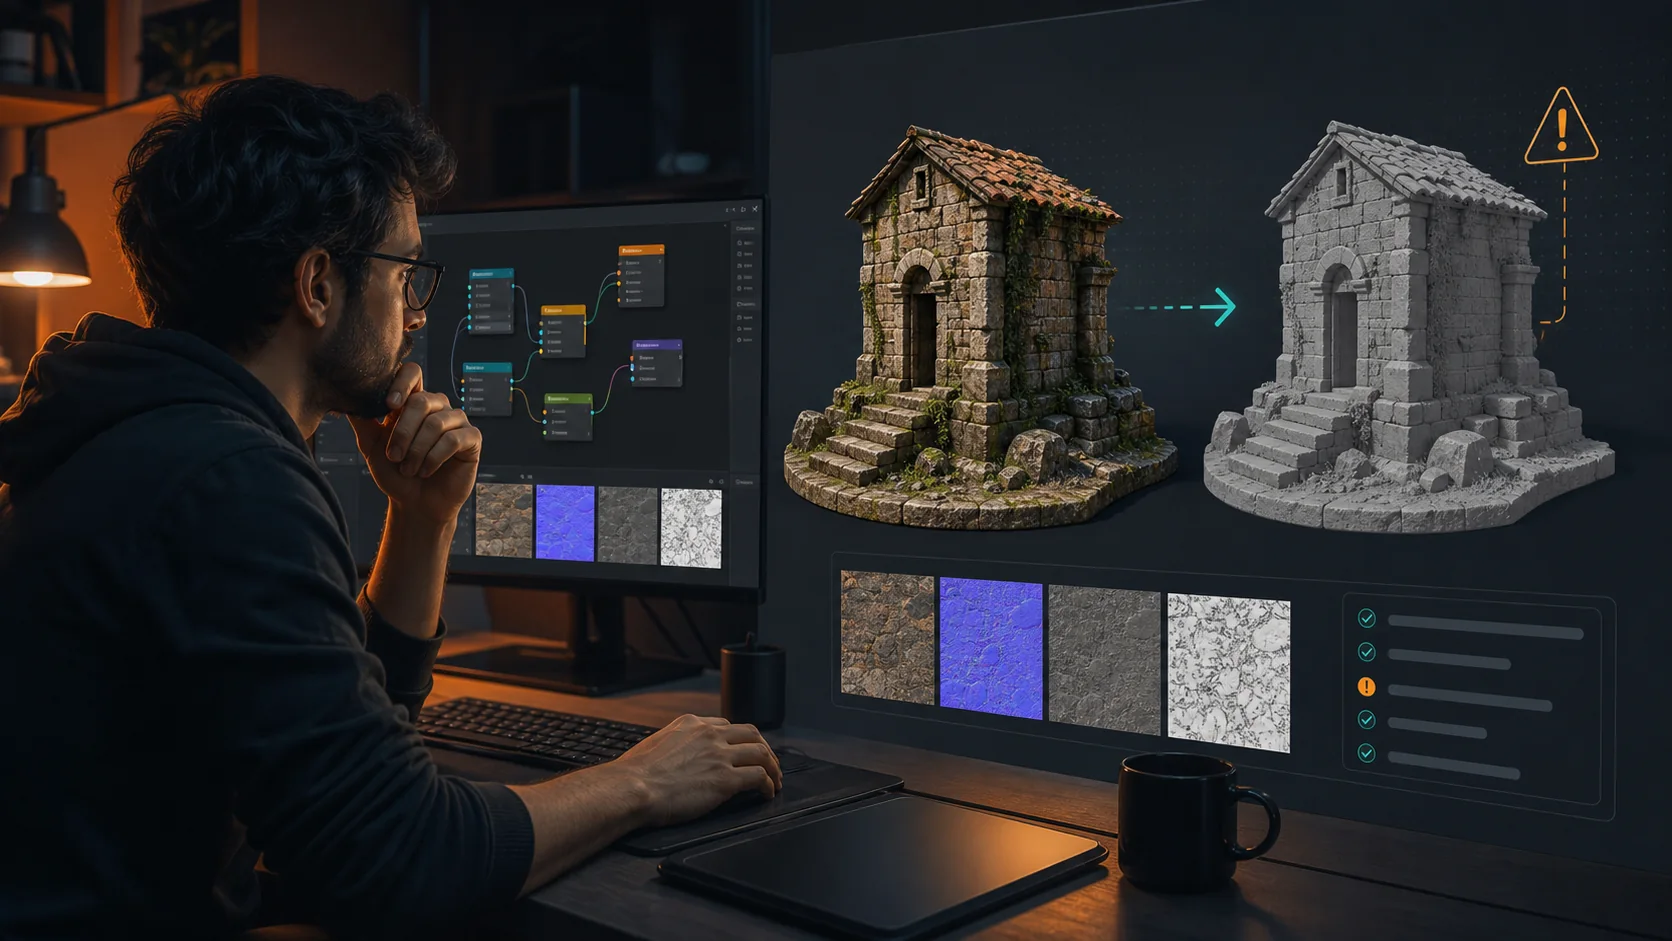
If a model looks correct in Blender but turns white, gray, or black after GLB export, run one test before rebuilding the material: import the exported GLB into a new Blender file.
- The texture is also missing after reimport: the problem is in the material, image, UV map, or export.
- The texture works after reimport: the GLB probably exported correctly. Check the target viewer, lighting, transparency support, and glTF extensions.
That split prevents hours of changing a valid Blender file to compensate for a viewer problem.
Downloads and Official References#
The menu names below match Blender 4.x. Older releases may place individual glTF options in different panels. The export test is the same.
Run the Reimport Test#
- Save the project under a new name so the original stays intact.
- Choose File > Export > glTF 2.0.
- Set Format to glTF Binary (.glb) and export to a new filename.
- Open a new Blender file.
- Choose File > Import > glTF 2.0 and import that GLB.
- Switch to Material Preview.
Continue with the branch that matches the result.
Branch A: The Texture Is Missing After Reimport#
1. Inspect the material path#
Select the object and open the Shading workspace. A portable base-color material normally has this path:
Image Texture -> Principled BSDF -> Material OutputThe image must be connected to Base Color. Seeing it in the Image Editor, or leaving an Image Texture node unconnected, does not make it part of the exported material.
Use sRGB for color images. Use Non-Color for roughness, metallic, normal, and mask images. Send a normal texture through a Normal Map node rather than connecting it directly to the Principled BSDF normal input.
2. Check the source image and UV map#
Blender shows unresolved image textures as magenta. If that appears, open the Image Texture node and restore the source path. If the image was painted, generated, or baked in Blender, save or pack it before closing the file so the source work is preserved. Do not treat an unsaved image as the confirmed export cause until the reimport test fails.
Then check Object Data Properties > UV Maps. In the UV Editing workspace, select all faces in Edit Mode. UV islands should appear over the intended image. If they do not, unwrap the mesh and inspect the result before exporting again.
File > External Data > Pack Resources can protect source files inside the .blend. It does not convert procedural shaders into GLB-compatible textures.
3. Bake Blender-only shader work#
Noise Texture, Voronoi Texture, long ColorRamp chains, and custom node groups are calculated by Blender. A glTF viewer cannot reproduce an arbitrary Blender node graph.
For a procedural base color:
- Make sure the mesh has a usable UV map.
- Switch the render engine to Cycles.
- Create a 1024 x 1024 or 2048 x 2048 image in the UV Editor.
- Add an Image Texture node, choose the new image, and leave that node selected.
- Connect the procedural color to an Emission shader with Strength set to
1, connect that shader to Material Output, and choose Emit under Render Properties > Bake. - Bake with a small margin, then save the image.
- Reconnect the saved image to Principled BSDF Base Color.
Bake roughness, metallic, normal, or emission only when the asset uses those channels. Check each saved map before deleting the original nodes.
4. Export a controlled test#
Use these starting settings in File > Export > glTF 2.0:
| Setting | Starting value |
|---|---|
| Format | glTF Binary (.glb) |
| UVs | Enabled |
| Normals | Enabled |
| Tangents | Enabled when the normal map needs them |
| Materials | Export |
| Images | Automatic |
| Selected Objects | Enable only if the intended objects are selected |
Export one affected object first. If that small file works, add the rest of the scene. This makes it easier to identify the material or object that introduces the problem.
Branch B: The GLB Works in Blender but Not in the Target Viewer#
At this point, stop changing the UV map and source image. Test the GLB in a second independent glTF viewer and, when available, run the Khronos validator.
Use the visible symptom to narrow the viewer-side cause:
| What you see | What to test next |
|---|---|
| Polished metal is almost black | Add an environment map or HDRI; metal reflects its surroundings |
| Transparent area is opaque | Check that image Alpha reaches Principled Alpha and that the exported alpha mode suits the material |
| Normal detail appears inverted | Confirm that the image uses Non-Color data and passes through a Normal Map node. If the result is still inverted, check whether the source map uses DirectX-style Y orientation. glTF expects +Y-up/OpenGL-style normal data, so invert the green channel or rebake the map in the OpenGL convention. |
| Only one viewer fails | Check that viewer's supported glTF extensions and material features |
A .gltf works locally but fails on a site | Open browser developer tools and look for 404, CORS, or image-loading errors for external files |
The last row applies to separate .gltf files. A .glb normally embeds its supported images, so an unexpected request for a loose texture is a useful clue that the wrong file or loading path is being used.
When the Exporter Finishes but the Material Is Still Wrong#
An export job completing only proves that Blender wrote a file. It does not prove that every Blender shader feature has a glTF equivalent. Compare the imported GLB with the source using the same lighting, then inspect these properties separately:
- base color and alpha;
- metallic and roughness response;
- normal-map direction;
- emission strength;
- texture resolution and file size.
If the Khronos validator reports an error, fix that error before tuning the appearance. Warnings require judgment: some describe optional compatibility or performance issues rather than a file that cannot load.
Final Export Check#
The asset is ready to hand off when the exported file:
- reimports into a clean Blender file with the expected materials;
- opens in at least one independent glTF viewer;
- does not need an unplanned loose image file;
- preserves alpha and normal details where used;
- stays within the texture-size and file-size limits of the target platform.
Use GLB when one portable file is convenient. Use glTF Separate when you need to inspect or replace individual texture files. Neither format can preserve every Blender shader node without simplification or baking.