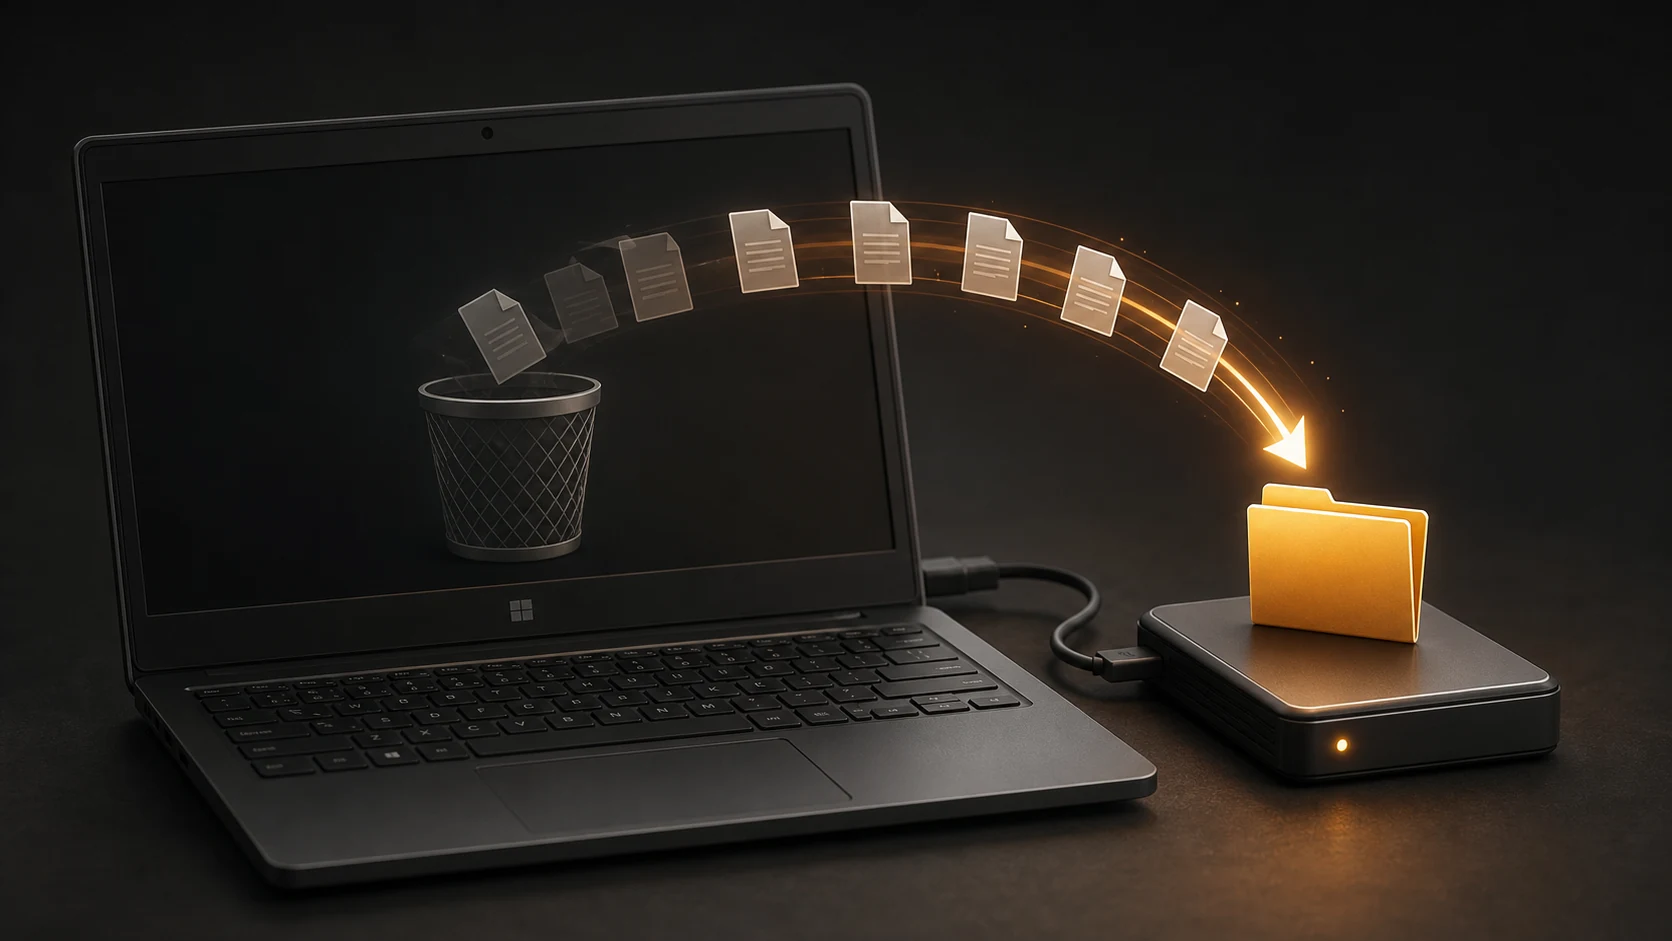
Stop using the drive as soon as you notice the deletion. Deleted data can remain until Windows writes new data over the same space. No program can guarantee recovery, especially from an SSD after TRIM has cleared the deleted blocks.
Official Recovery Tools#
- Windows File Recovery instructions
- Windows File Recovery in Microsoft Store
- Recuva official download
- Microsoft File History restore guide
Windows File Recovery is Microsoft’s command-line tool for local internal and external storage. It does not recover from cloud storage or network shares. Recuva provides a graphical interface for home users. Install either tool only from its official page.
Try Restore Sources First#
Before scanning the disk:
- Open the Recycle Bin.
- Check OneDrive or another cloud service’s recycle bin.
- Right-click the folder that contained the file and check Restore previous versions.
- Open File History if it was configured.
- Check the application’s own recovery or version history.
A backup restore is safer and usually preserves filenames and folders better than raw recovery.
Protect the Deleted Space#
- Stop downloads, updates, and file copies to the source drive.
- Do not install the recovery program on the source drive.
- Prepare a different physical drive for recovered files.
- If the file was on
C:, use an external drive as the destination. - Do not create a new partition to make space.
Microsoft requires Windows File Recovery’s source and destination drive letters to differ. For this guide, use a different physical drive so recovery output cannot overwrite more deleted data on the source device.
If the deletion occurred on C:, installing a Store app creates additional writes to the same SSD. Exhaust Recycle Bin, cloud history, File History, and application versions first. For a secondary drive, install the tool on the system drive and keep all recovered output off the affected device.
Use Windows File Recovery#
Install the app from Microsoft Store, open it as administrator, and identify the source and destination letters.
For a recently deleted PDF or Word file on an NTFS system drive:
winfr C: E: /regular /n *.pdf /n *.docxFor older deletions or a broader scan:
winfr C: E: /extensive /n \Users\YourName\Documents\Replace E: with a different destination drive and YourName with the actual Windows profile folder. Windows creates a dated recovery folder on the destination.
Start with Regular mode for a recent NTFS deletion. Use Extensive mode for an older deletion, formatting, corruption, FAT, or exFAT.
Use Recuva for a Graphical Scan#
- Install Recuva only after considering the writes created by the installer, temporary files, and application data. Choosing a USB installation path does not guarantee that Windows will avoid writing to
C:. - Select the file type or choose all files.
- Select the original location.
- Run the normal scan first.
- Use Deep Scan only if the first scan fails.
- Select recoverable files.
- Save them to another physical drive.
A green status in a recovery tool is an estimate, not proof. Open the recovered file and inspect its contents.
Understand SSD Limits#
SSDs commonly use TRIM to mark deleted blocks for reuse. Once the controller clears those blocks, software may find a filename but not the file data. Continuing to use the computer reduces the chance of recovery.
Do not disable TRIM after the deletion and assume the data will return. The command cannot reverse blocks already cleared.
Open and Back Up the Results#
- Open every critical recovered file.
- Check document pages, image dimensions, video duration, and archive integrity.
- Compare filenames and dates with another record.
- Keep the source unchanged until the recovered copy is backed up.
- Make two copies of successfully recovered critical files.